In this article, I will explain the whole process of creating a YouTube channel, from the beginning to uploading your first video and making money through the YouTube Partner Program (YPP) and brand sponsorships!
I will include everything you should know as someone who is just starting with YouTube.
We’ll go through things like
- Creating a YouTube channel
- Changing and configuring important settings
- Customizing your channel
- Enabling intermediate and advanced features
- Uploading your first video
- Decode YouTube analytics
- and more
Well, let’s get started.
How To Create a YouTube Channel
To create a YouTube channel, you need a Gmail account, which I assume you already have.
If not, just head over to gmail.com and sign up for a new account by giving few informations like your first name and last name, date of birth, gender, and a Gmail handle.

Finally, verify your mobile number and your Gmail account should be ready.
Next, head to YouTube.com and hit Sign In.

Once logged in, click the profile picture on the top right of the screen and select Create a channel or if you have been using YouTube already, go to youtube.com/channel and click the Create a Channel option.

On the popup the appears, enter your new channel name in the first field and a username or YouTube handle in the second one and click Create.

Now, the YouTube channel has been created.
Next is to customize the channel and configure some important settings.
Customize & Set Up Your New YouTube Channel
On the Channel page, click the Customize Channel option. And click Continue on the popup that appears.
Now, move to the Basic info tab underneath the Customization section.
Scroll down, and you’ll find a section to enter a description for your channel explaining what your channel is and what viewers can expect.
You can write one on your own or use an AI tool to generate one.
If you want to use AI, open ChatGPT or Claude and give it a prompt something like this:
Create a concise and engaging bio for a YouTube channel called [NAME] focused on all things [NICHE]. Highlight the channel’s mission, what type of content viewers can expect, and why they should tune in. Keep it punchy and unique!
Now copy and paste the generated description on YouTube Studio.

Next, you can add social links to your YouTube channel, which will appear in the About section. You can include links to any website, such as your Instagram or Twitter handle.
It’s as easy as just entering the title and the URL. To add more links, click the Add link option.
Next, you need to enter the email address in the contact info section.

Basically, this is the email that people or brands will see if they need to contact you about something like a brand deal or sponsorship.
Once done, just click the Publish button to save the changes.
Channel Icon & Banner
Next, let’s upload the channel logo and channel banner.
On the customization screen, move over to the Branding tab.
But first, you need a logo, right?
You can create an outstanding logo with your creative skills using any apps like Canva or Illustrator or even use AI tools to create a logo for your YouTube channel.
I will create a basic logo in Canva and download it as a PNG file.
Similarly, you can use Canva or any AI tools to generate a logo with a single click.
Once you have the logo, head back to YouTube Studio, click the Upload button next to the logo and select the logo you just created.
Next, let’s create a banner image.
For this, you can use Canva.
Log in to Canva and search for the YouTube banner.
Select any template and customize it according to your branding styles, or create one from scratch. Once done, download the banner image.
Click the upload button next to the banner image and select the downloaded image.

Next, you can add a watermark to your video. This appears in the bottom right corner of the video player. You can either upload your channel logo as a watermark or add a subscribe button image as the watermark.
Click the Publish button to make the changes live.
You will have to wait for at least 5 minutes before the channel logo and banner is updated everywhere.
After 5 – 10 minutes, if you open your channel, you will see the logo and channel banner, and upon clicking the About section, you will find the description, external links, and contact email address.

Enable Intermediate & Advanced Features
The next thing to do is enable intermediate and advanced features on your new YouTube channel.
Upon enabling these, you can upload videos longer than 15 minutes, upload custom thumbnails, increase the number of uploads per day, do livestreams, appeal content ID claims, and more.
Open YouTube Studio and click Settings.
Select Channel and move to the Feature Eligibility tab.
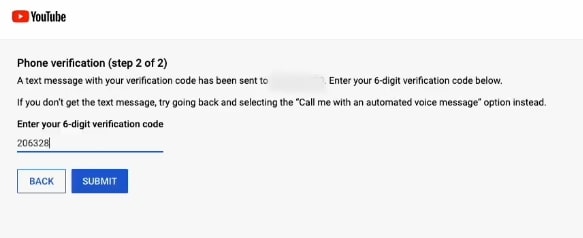
First, expand the Intermediate features option and click VERIFY PHONE NUMBER.

Make sure you have your phone number ready for this.
Select your country, enter the phone number, and click GET CODE.
Enter the 6-digit verification to complete phone number verification, and you have now enabled intermediate features.
Next is advanced features.
Expand the Advanced Features tab and click Access Features.
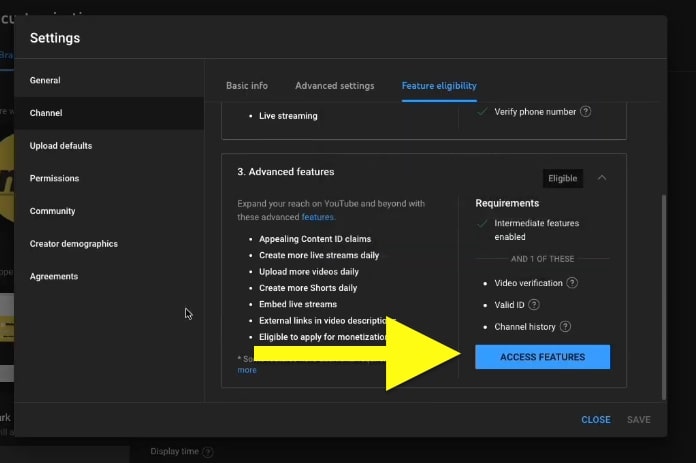
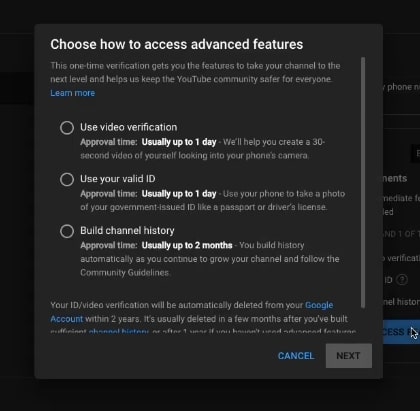
To enable this, you have three options. First is doing a video verification, the second is uploading a government-issued ID, and the third is waiting two months to build channel history.
Just choose the Use Video Verification option and click Next.
Click Get email.
Now, take your phone, open the Gmail app, and click on the link in the email. (Make sure you login to the same Gmail account on your phone)
Give the necessary permission and follow the onscreen instructions to complete the video verification.
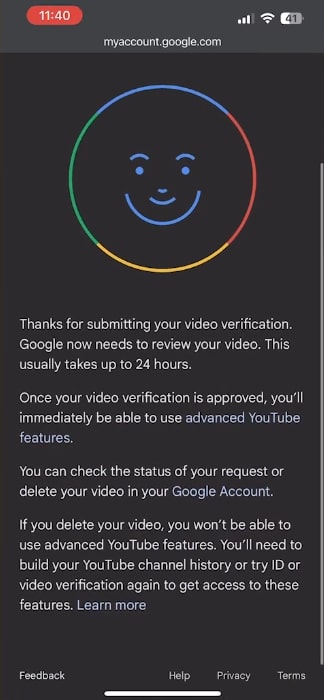
Once done, you will receive a confirmation email in less than a day stating advanced features are enabled on your account.
Next, open the Basic Info tab and select your country of residence. And add some keywords related to your channel and niche in the keywords section.
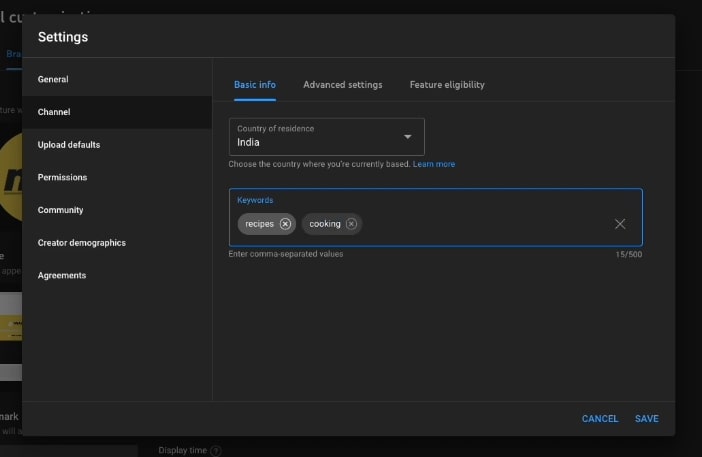
For example, if your channel is in the cooking niche, you can include keywords like cooking, recipe, baking, etc, and save.
Now your YouTube channel is fully setup.
Next is to upload videos.
Upload Your First Video On YouTube
Once you have the edited video ready, let’s see how to upload them.
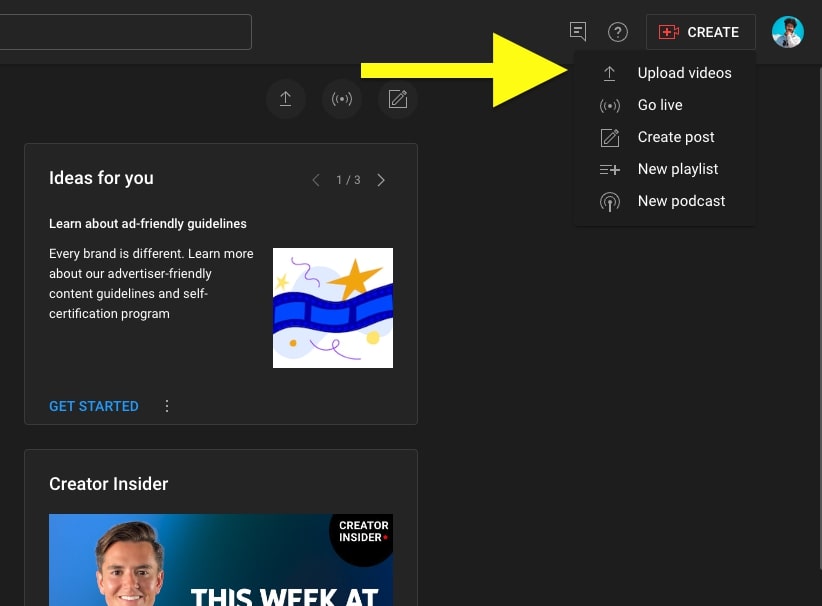
Open YouTube Studio, click the Create button on the top right, and click Upload Videos.
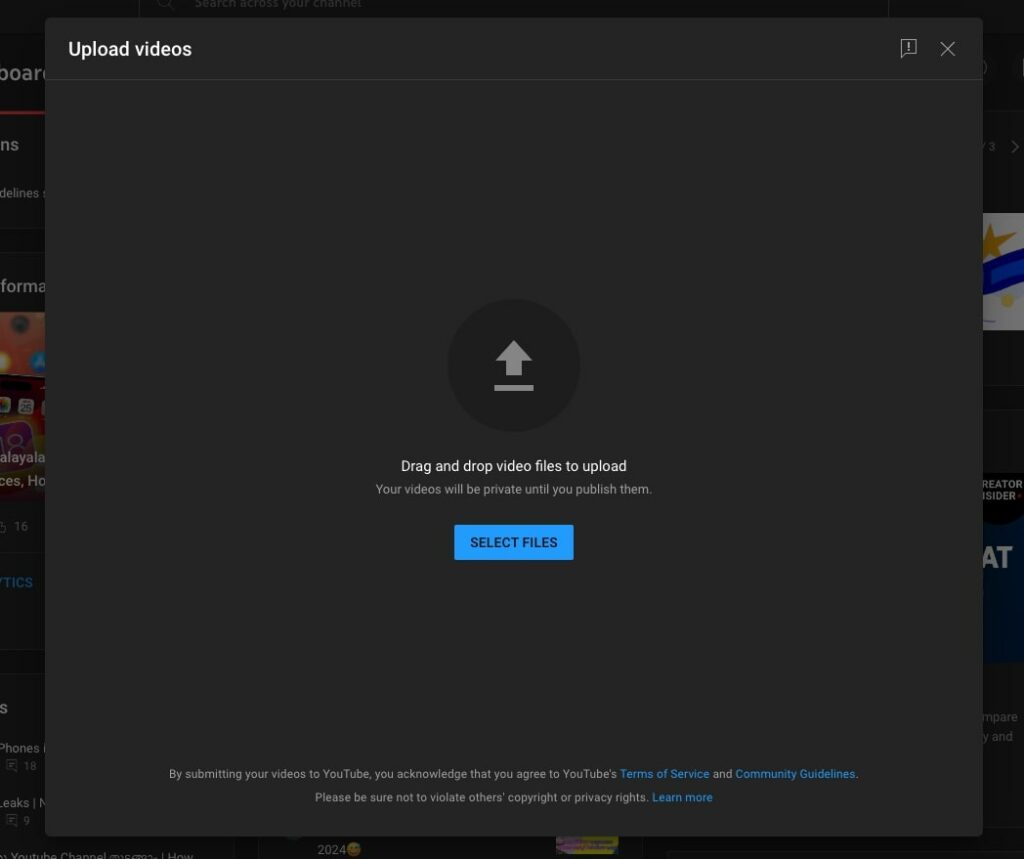
Now drag and drop the video or manually select the file to upload.
As the video is uploaded to the background, you can add the title, description, keywords, etc.
First, enter the video title.
Make sure you give a highly engaging video title that boosts CTR.
Next, type the video’s description and include links and other CTAs, if any.
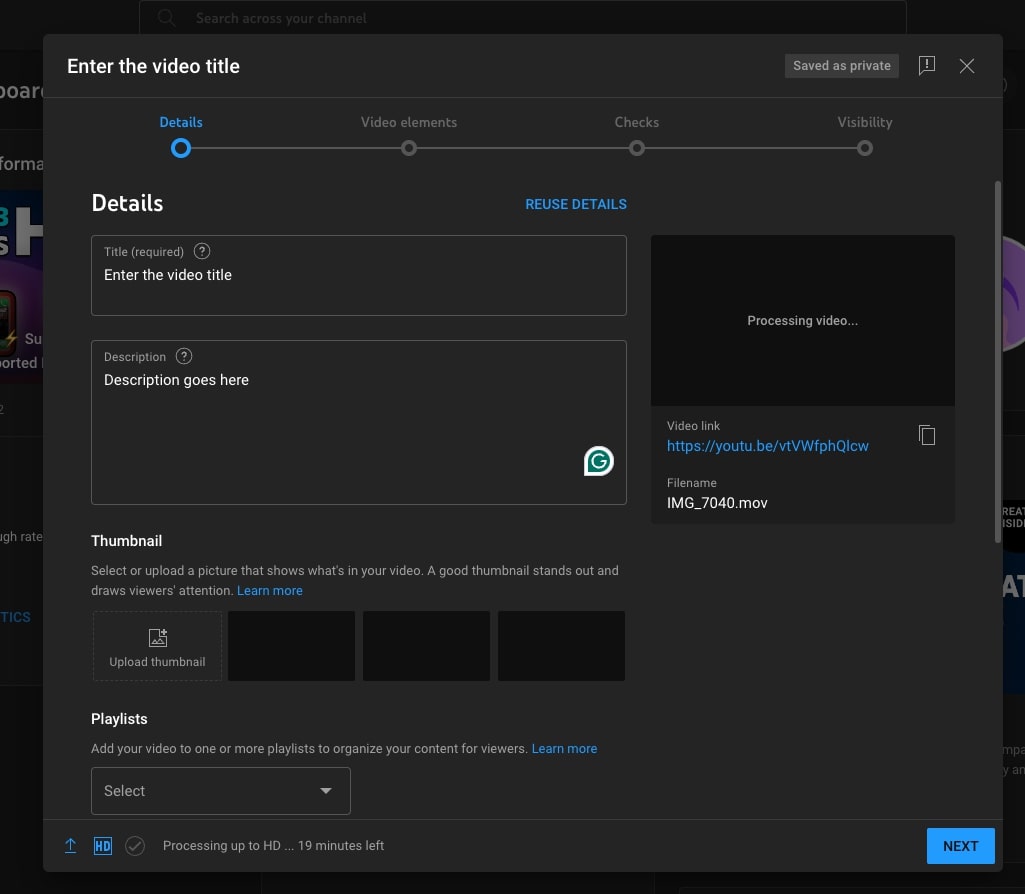
You may also use any AI tool for catchy title and description ideas.
Now, let’s add our custom thumbnail. Click the Upload thumbnail button and select the thumbnail image. Make sure the image is in JPG or PNG format and is less than 2 MB in size.
You can create a cool-looking thumbnail using Photoshop or Canva. But For now, I’m not explaining how to create a thumbnail.
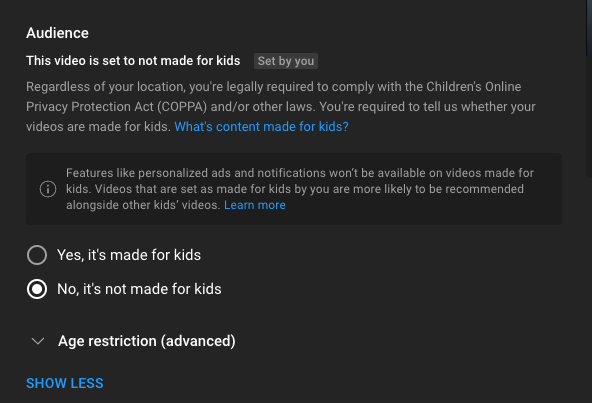
Scroll down and select No, it’s not made for kids option under audience if the video is not targeted for kids.
Scroll down again, and now comes the important part – Tags.
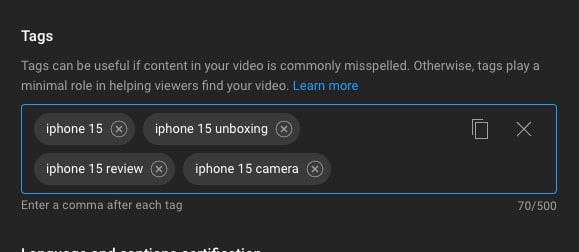
Tags are basically keywords related to the video. It improves the discoverability of your video across the platform and helps them appear on search results.
For example, if the video is about iPhone 15 review, you could include tags like iPhone 15 review, iPhone 15 camera performance, iPhone 15 unboxing, and iPhone 15 user experience. I mean, you get the point right?
You may also use a YouTube video tags generator or the YouTube search autocomplete feature to find potential tags ideas.
Optionally, you may also select a category for your new video and select the language as well.
Finally, click Next.
Now, if you want to add custom subtitles, end-screen items like the subscribe button, or related videos or cards, you may do it here on the video elements screen.

Click Next.
If you want to publish your video immediately, select the Public option and hit Save.
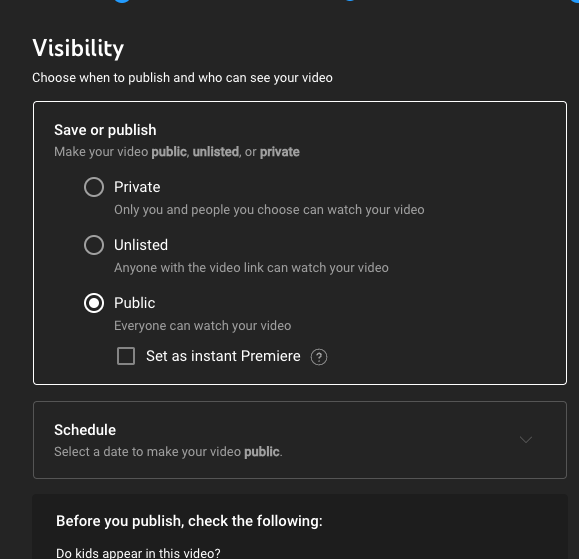
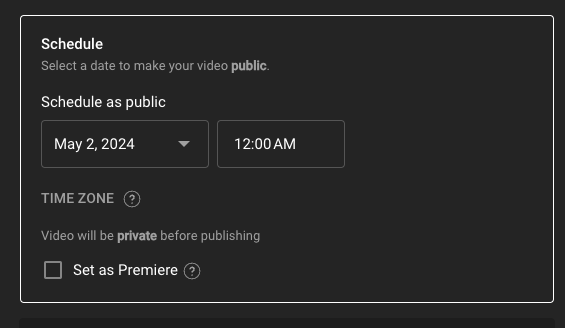
Alternatively, if you want to schedule the video for a future date, click the Schedule option, select the date and time when the video should go live, and hit Save.
And your first-ever YouTube video is up and live.
Decoding YouTube Analytics
Once your YouTube video gets some views, you can find more information about it under the Analytics tab.
On YouTube Studio, click Analytics.
Here, you can explore and browse through various sections like overview, content, and audience to find more details about your channel viewers, like where they are watching your videos from, demographics, age group, top contents, view sources, keywords driving views, retention rate,, and much more.
It will take some time for you to get used to YouTube analytics, but once you do, you can explore advanced filters and options to find pretty much any info about all your videos and channels in general.
Monetization
Now, let’s talk monetization.
One of the primary reasons people start a YouTube channel is to make money.
However, to show ads on your videos and make money, there are some criteria that your channel must fulfill.
Back in the day, when I started my first YouTube channel in 2014, one could create a brand new channel and monetize it from day 1. But that’s no longer the case.
If you go to the Earn tab in YouTube Studio, you can see that your channel needs at least 1000 subscribers and 4,0000 hours of watch time in the last 12 months or 1000 subscribers and 3 million shorts views in the last 90 days.
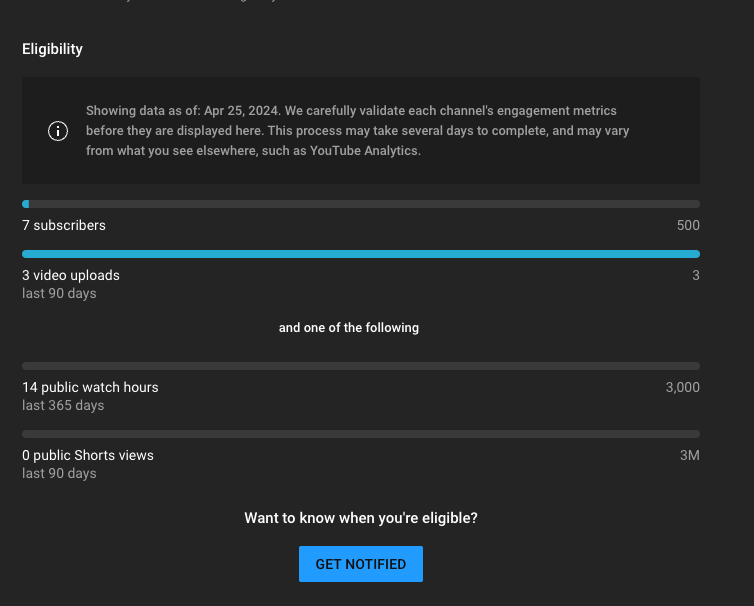
Once you fulfill the criteria, you will find an option to apply for the YPP or YouTube Partner Program and start making money from ads.
Till then, keep posting videos consistently.
That’s it; you have created your YouTube channel, enabled intermediate and advanced features, done customizations, and finally uploaded your first-ever YouTube video.
This is how simple it is to create a YouTube channel today.
Now, consistently upload views, meet the monetization criteria, enable monetization, and make money.
If you have any questions, please leave them in the comment section below, and I will see you in the next one.